Walkthrough 5-1: Deploy an application to CloudHub
In this walkthrough, you deploy and run your application on CloudHub. You will:
· Deploy an application from Anypoint Studio to CloudHub.
· Run the application on its new, hosted domain.
· Make calls to the web service.
· Update an API implementation deployed to CloudHub.

Starting file
If you did not complete the previous walkthrough, you can get a starting file here. This file is also located in the solutions folder of the student files ZIP located in the Course Resources.
Deploy the application to CloudHub
1. Return to Anypoint Studio.
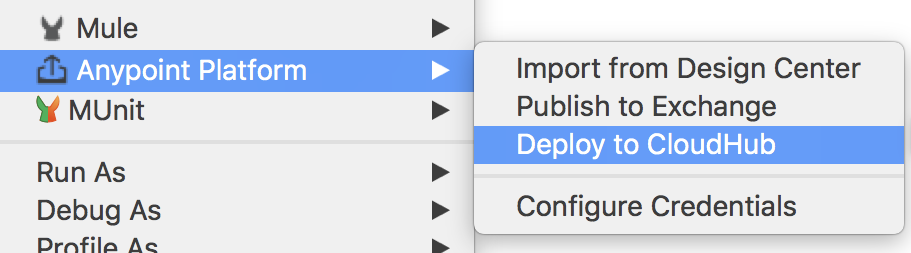
2. In the Package Explorer, right-click the project and select Anypoint Platform > Deploy to CloudHub.
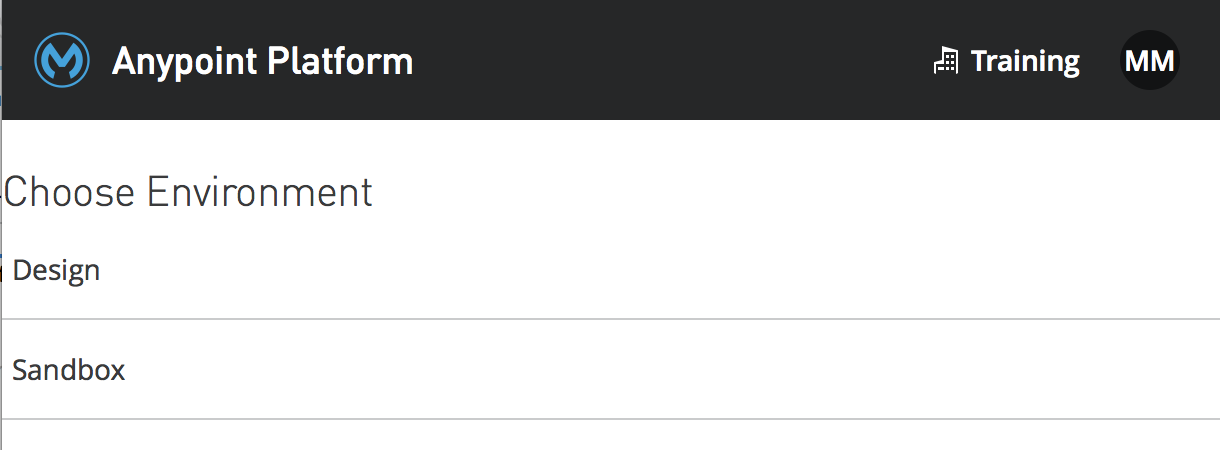
3. In the Choose Environment dialog box, select Sandbox.
4.
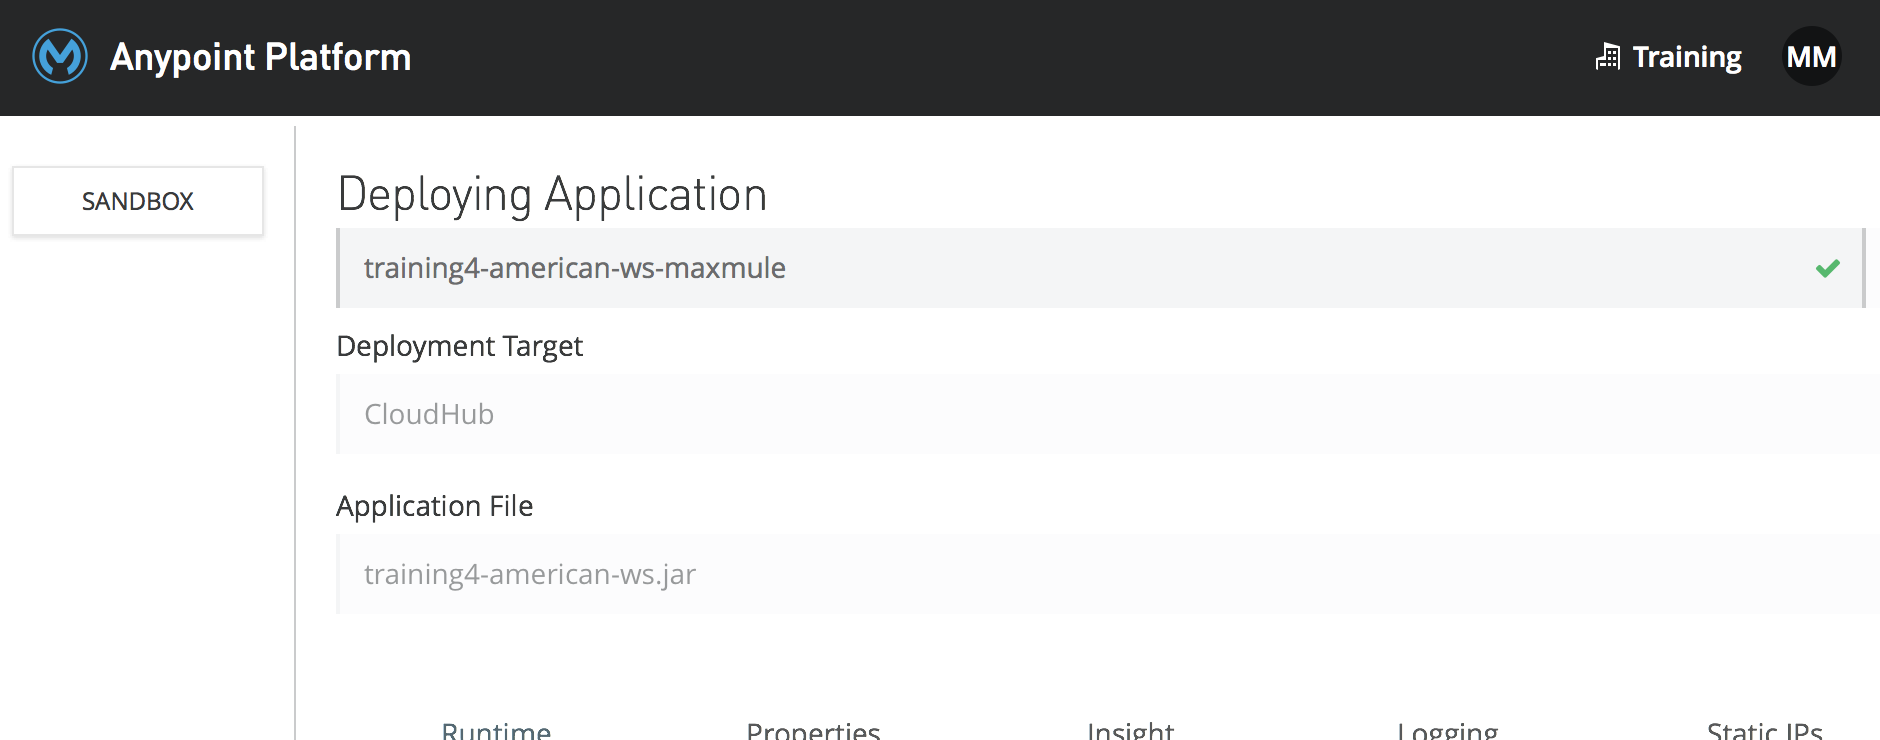
At the top of the Anypoint Platform dialog box, set the application name
to
training4-american-ws-{your-lastname} so it is a unique value.
Note: This name will be part of the URL used to access the application on CloudHub. It must be unique across all applications on CloudHub. The availability of the domain is instantly checked and you will get a green check mark if it is available.
5. Make sure the runtime version is set to the version your project is using.
Note: If you don’t know what version it is using, look at the Package Explorer and find a library folder with the name of the server being used, like Mule Server 4.2.2 EE.
6. Make sure the worker size to 0.1 vCores.

7. Click the Deploy Application button.
8. Click the Open in Browser button (you don't have to wait for your application to fully deploy).
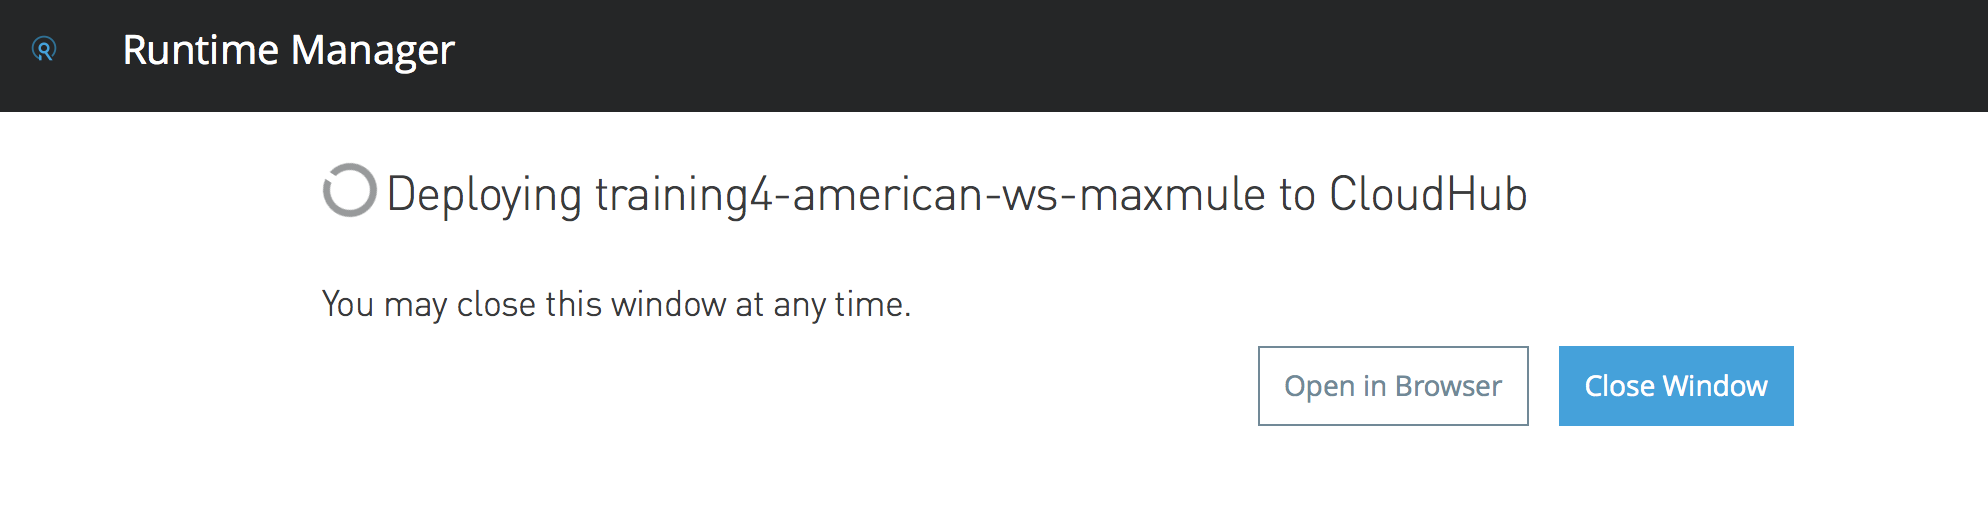
9. In the Anypoint Platform browser window that opens, locate the status of your deployment in the Runtime Manager.
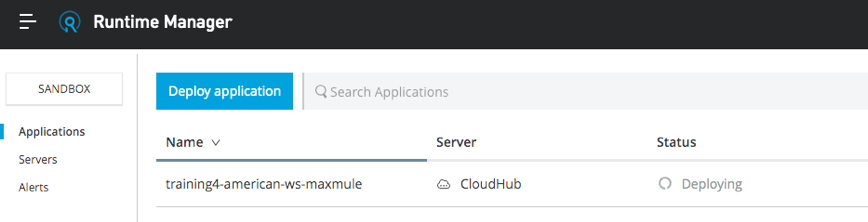
Watch the logs and wait for the application to start
10. Click in the row of the application (not on its name); you should see information about the application appear on the right side of the window.
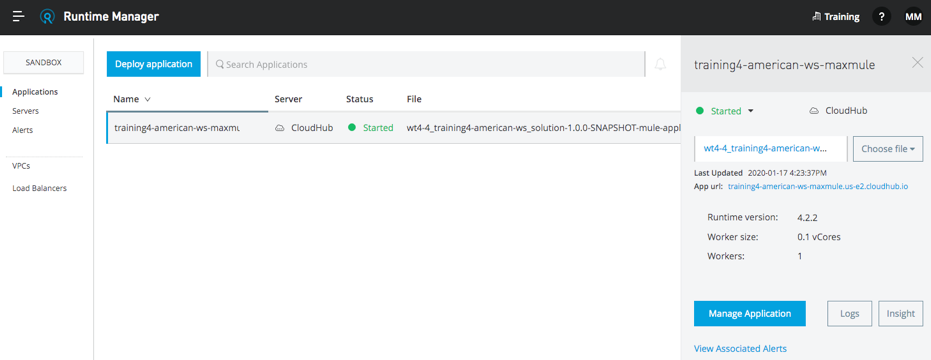
11. Click the Logs button.
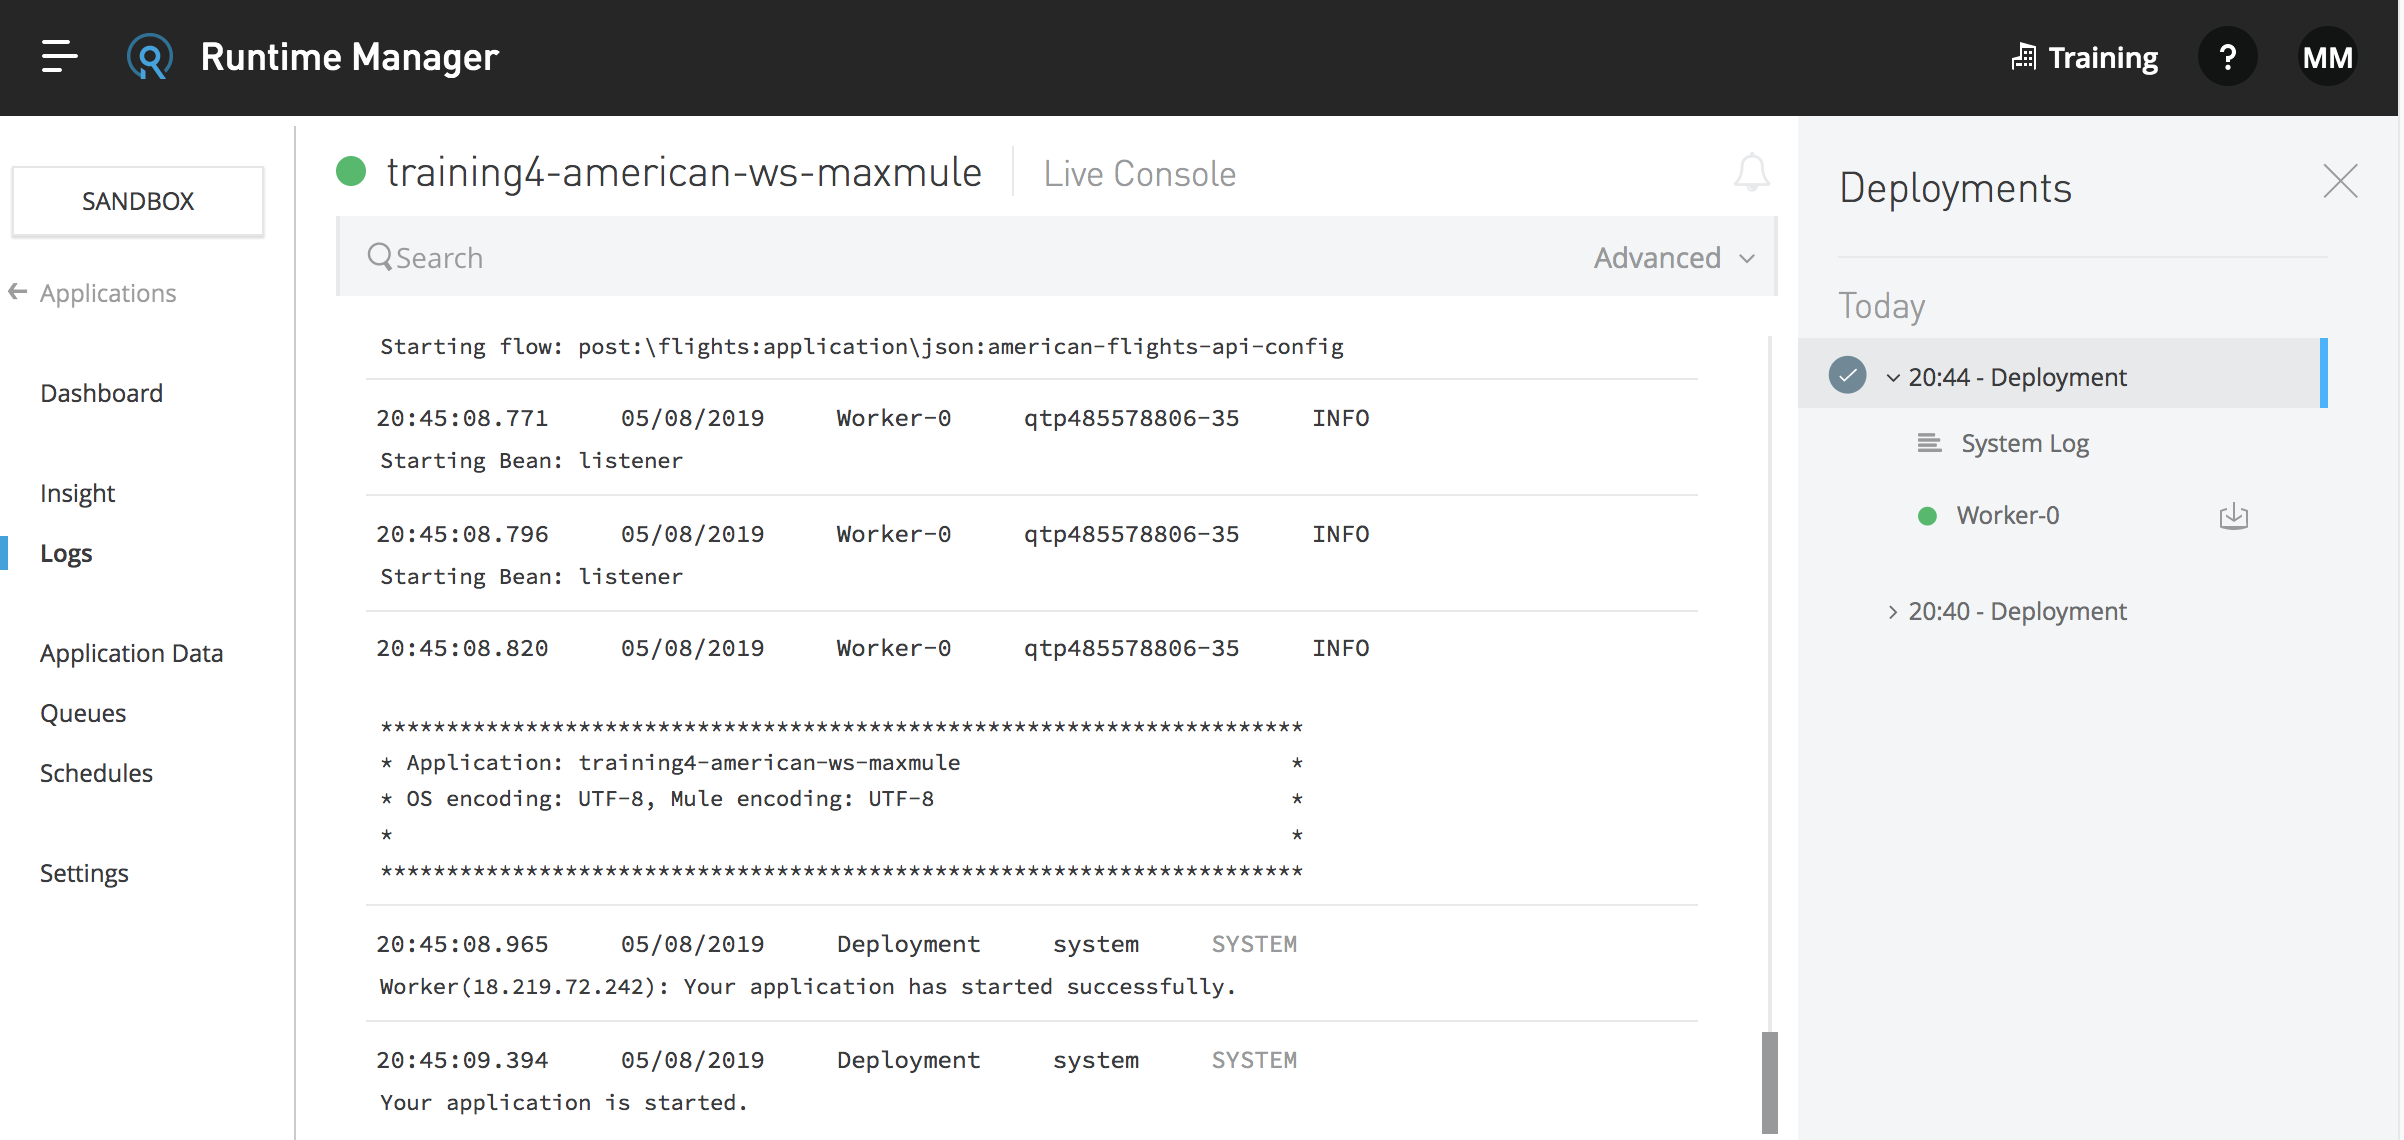
12. Watch the logs as the application is deployed.
13. Wait until the application starts (or fails to start).
Note: If your application did not successfully deploy, read the logs to help figure out why the application did not deploy. If you had errors when deploying, troubleshoot them, fix them, and then redeploy.
Test the application
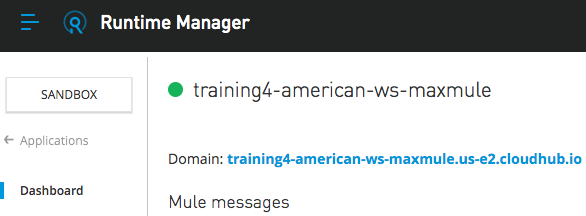
14. In the left-side navigation, select Dashboard.
15. Locate
the link for the application on its new domain:
training4-american-ws-{lastname}.{region}.cloudhub.io.
Note: {region} represents the worker region to which the Mule application is deployed. In North America, the default region is US East and is denoted by us-e2 in the application URL.
16. Click the link; a request will be made to that URL in a new browser tab and you should get a message that there is no listener for that endpoint.
17. Modify the path to http://training4-american-ws-{lastname}.{region}.cloudhub.io/api/flights; you should see the flights data.
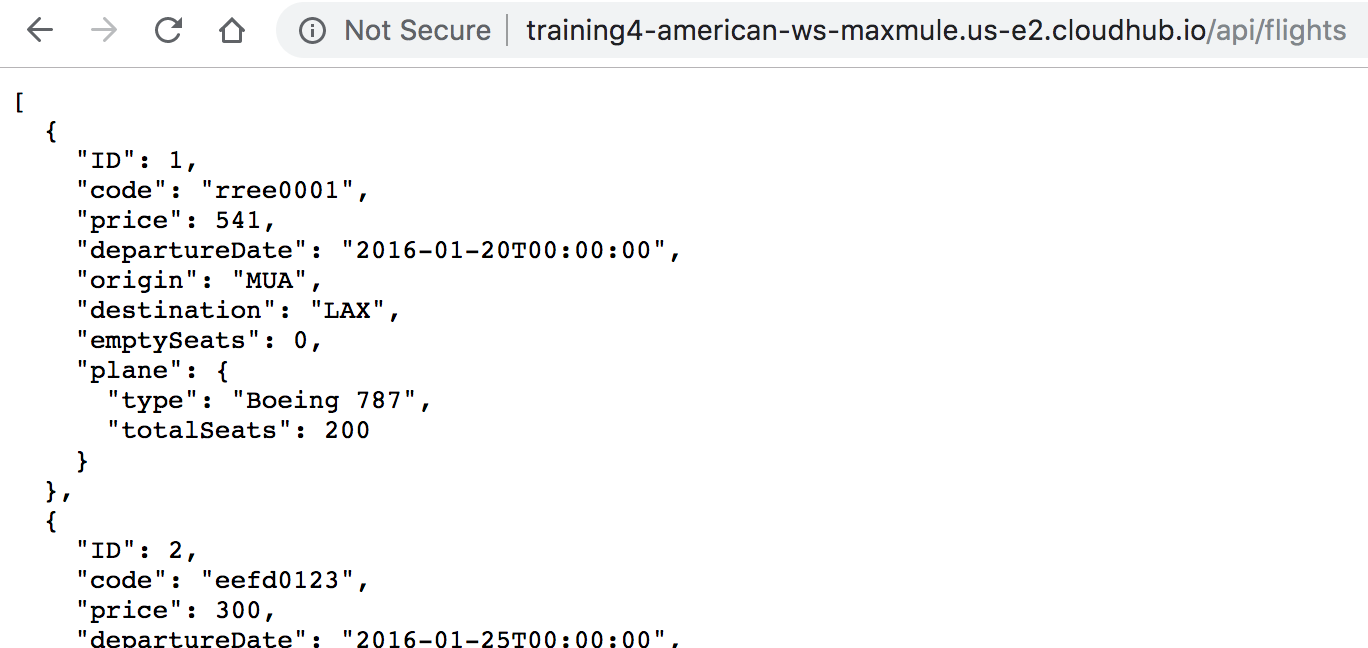
Note: If you are using the local Derby database, your application will not return results when deployed to CloudHub. You will update the application with a version using the MySQL database in the next section, so it works.
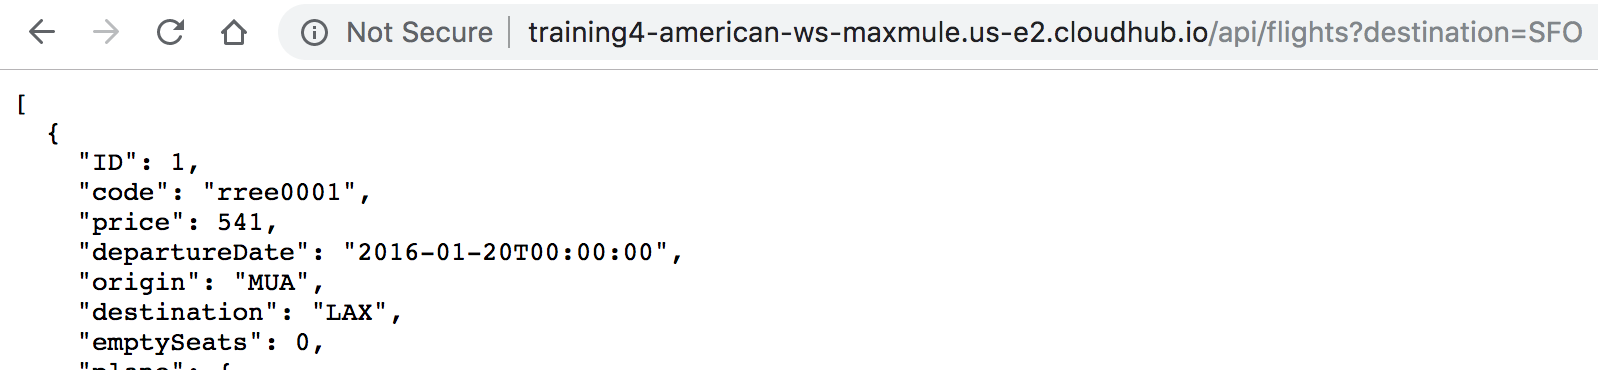
18. Add a query parameter called destination to the URL and set it equal to SFO.
19. Send the request; you should still get all the flights.
Note: You did not add logic to the application to search for a particular destination. You will deploy an application with this additional functionality implemented next.
20. Leave this browser tab open.
Update the API implementation deployed to CloudHub
21. Return to the browser tab with Runtime Manager.
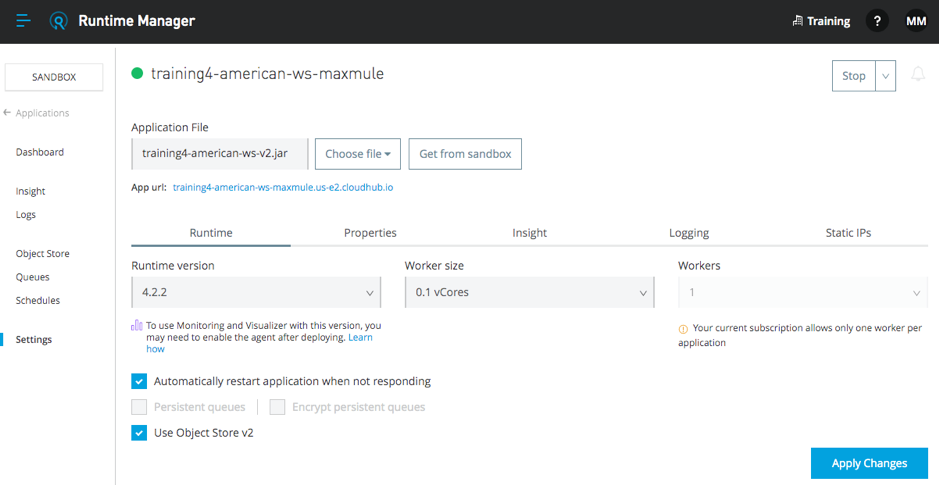
22. In the left-side navigation, select Settings.
23. Click the Choose file button and select Upload file.
24. Browse to the jars folder in the student files.
25. Select training4-american-ws-v2.jar and click Open.
Note: This updated version of the application adds functionality to return results for a particular destination. You will learn to do this later in the Development Fundamentals course.
26. Click the Apply Changes button.
27. Wait until the application is uploaded and then redeploys successfully.
Note: Because this can take some time for trial accounts, your instructor may move on with the next topic and then come back to test this later.
28. Close the browser tab with Runtime Manager.
Test the updated application
29. Return to the browser tab with a request to the API implementation on CloudHub with a destination of SFO and refresh it; you should now get only flights to SFO.

30. Close this browser tab.